Pages

Showing posts with label DIY. Show all posts

Wednesday, June 6, 2012

Lady Bug Update!


Before...


After...


These little lady's went to town! I previously posted that my poor plant in our front yard had been infested with aphids. The solution .... Lady Bugs!!! Bought these little ones in a container at Mclendon's for about $11... which I thought was a little high, but I went ahead and tried it. I was unsure about how long they would stick around and thought that they would fly away once released. I was happy to find that they stayed for about a week!!!! It was kind of rainy and cold here so they huddled together a lot. Most have now left the nest and hopefully they left me some kiddos!!


So far so good!!


Saturday, June 2, 2012

DIY Bookend Makeover


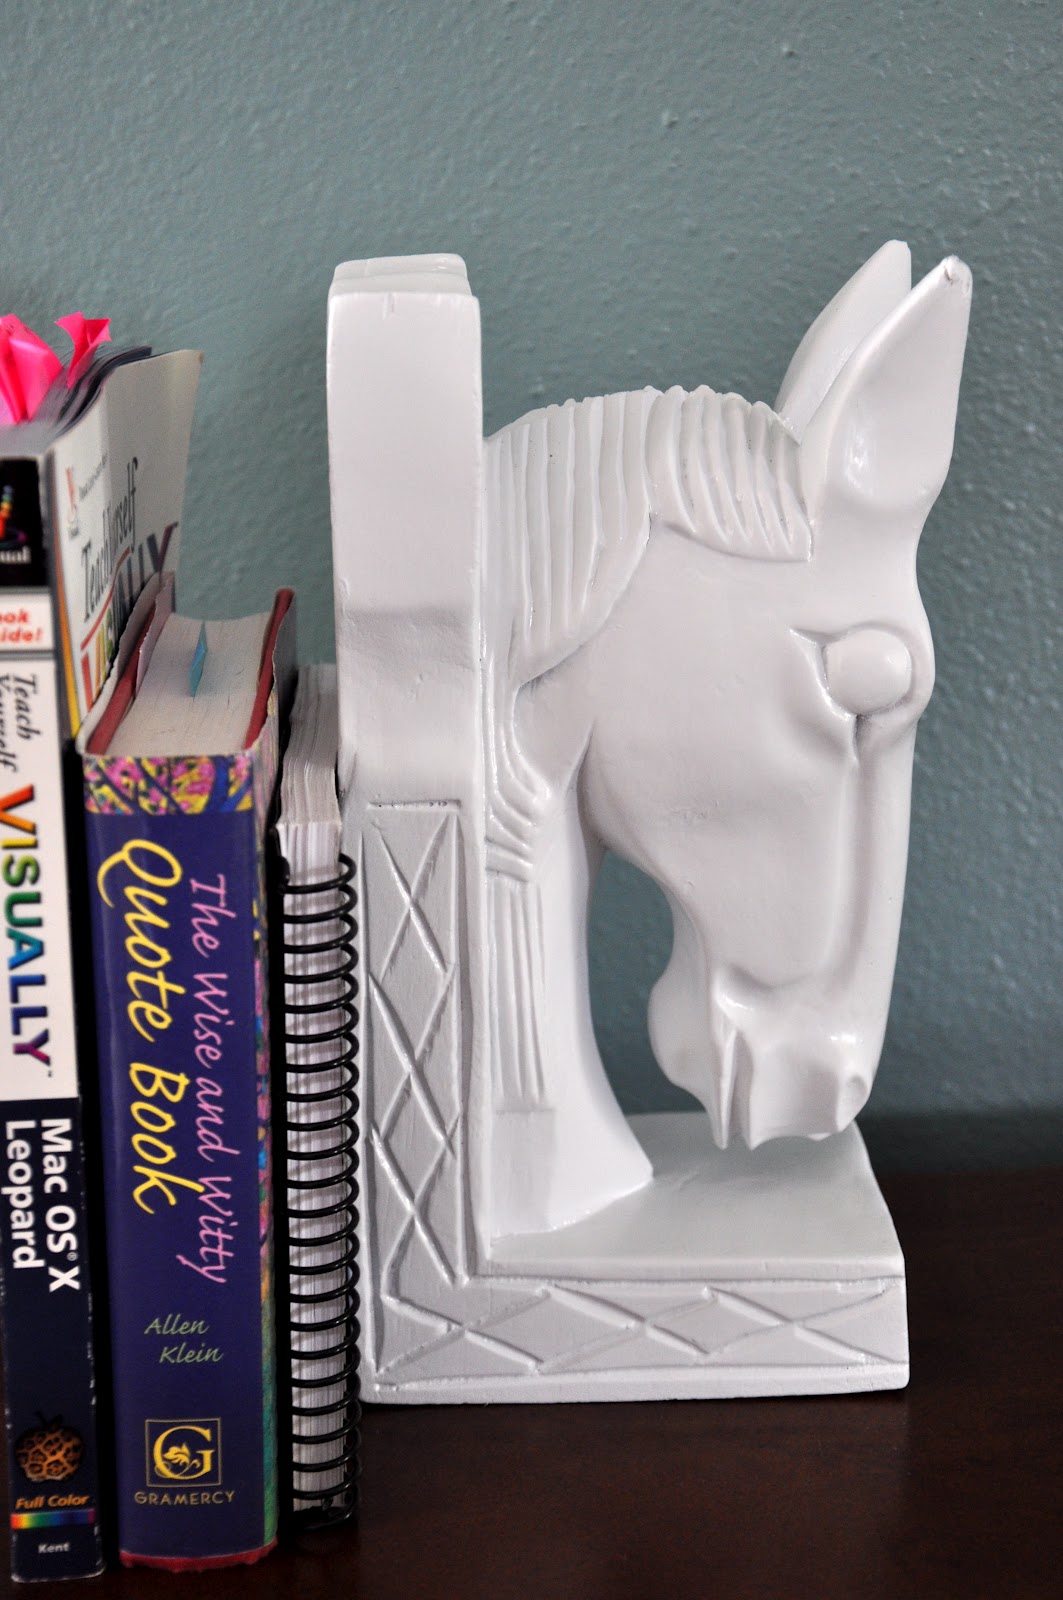
Woohooo it's the weekend guys! This will be my first easy peasy DIY project I want to share with you. It's so simple, all you have to do is find a lacquer spray paint and paint an old bookend to make it look new again. I found this really cool horse head bookend. It had so many scratches I decided I could hide them and make it look even cooler by painting it white.


Lacquer spray paint- $4.98


SOOOOO many scratches! I would have never bought this if I didn't have the idea to paint it.


A couple coats and...


Tadaaaaa! Isn't it Beautiful! I have no space for it so guess what...it's for sale in my etsy shop. What I would do, to prevent the bookend from falling over, is place a small "L" bracket in the back so the books sit on the bracket for more stability.
This project is a reminder that everything has potential to look pretty again.
If you have any bookend projects i'd love to see them.
Have fun!
-katie

Monday, May 28, 2012

Aphids Be Gone!!

Poor little plant... it's covered in aphids!! Didn't really notice them until now and it looks like an infestation! Only on one plant though. My solution...LADY BUGS. I bought some today at the local Mclendon store and hopefully they are the answer. Everywhere I read says that lady bugs love aphids so i am hoping that these lady bugs will save my plant. I'll keep you updated on how long it will take.


-Katie

The "do it yourselfer"

Growing up without much money and a dad who thinks he can build everything in order to save cash, has made me a "do-it-yourselfer". With my fairly new discovery of Pinterest and the unnecessary amount of college fees, I have found that my DIY self will come in handy. The only problem is finding money for these amazing projects along with paying my rent. 


There are so many things that I feel I need, but actually they are just things I want. Doesn't this always happen. I know I need a bed, a desk, a chair, and a dresser. Necessary right? I have a desk from home that I will use. Of course there was a DIY desk I wanted to make, but i'll just wait until I have an actual house. I figured I could save space and money by making a bed frame with storage underneath. This bed to be exact...


I can put baskets on the bottom to use as drawers. The only thing I plan on changing is the headboard. I found a tutorial on how to make a tufted headboard and it looks fairly easy. So far I have bought fabric and foam; all I need now is peg board and a button kit. I found clearance fabric in a coral color for $9 a yard. I had to buy two yards because it is thin and see-through. During the memorial day sale at Joanns I was able to snatch a little more than one yard of 2" foam for $15!!! instead of $30.99 a yard!!! 
There are a few modifications I would make, and when I do make it i'll be sure to post my own tutorial to share!
I would like to make this lampshade as well and put it on a simple floor lamp. 


By Katie


Stay creative!
-katie

Saturday, October 30, 2010

Photoshop Banners

Woohoo it took me 10 minutes to make this lol

The shop was in need of a new banner. The other one was kinda crowded :/ I hope this one looks alright! Along the way I'll be making more :D

How did I do that without spending any money!!?

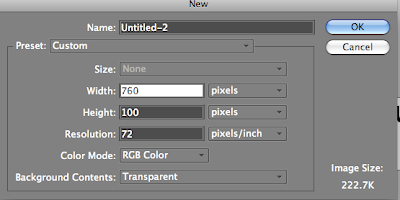
1.) Create a new file and set the height to 100 and width to 760.... {pixels}
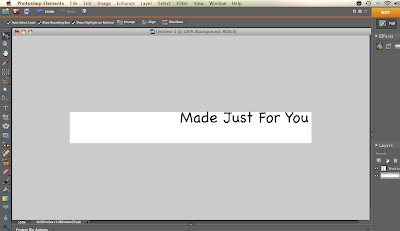
2.) Create a new text

3.) Look up photoshop brushes online
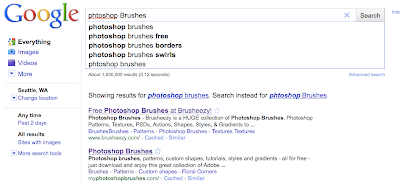

4.) Pick a brush you think matches the theme of your store... Below I picked a texture brush for the background
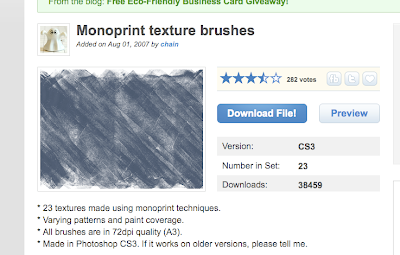


5.) Go to photoshop and click on the brush tool on the side bar.
You will then see a bar on the top left where you can change the brush seen in the photo below
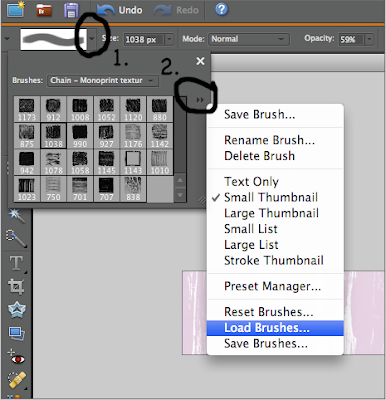


6.) Download the brush
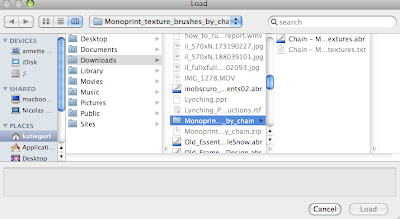

7.) And wahlah! you can now use the brushes for your banner!
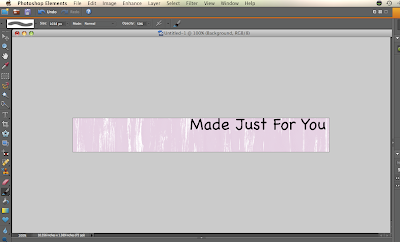

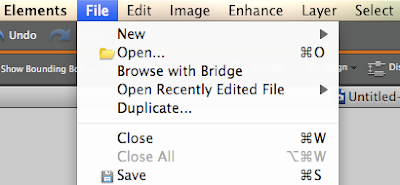
8.) Wanna add a picture? Open up a new document by going to File ... open... then choose your photo.


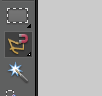
9.) Open the Photo you want to use and select the magnetic lasso tool.


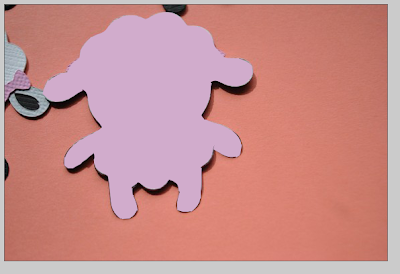
10.) With this tool you can select part of the photo. In my case I only want to select the lamb. With the lasso tool start by clicking one point and drag the tool around the object.


The object should be highlighted
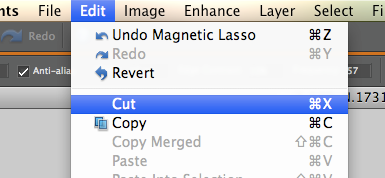


11.) Then paste on your banner!
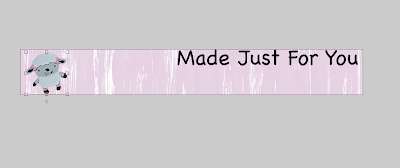

:D

LinkWithin

Related Posts Plugin for WordPress, Blogger...